








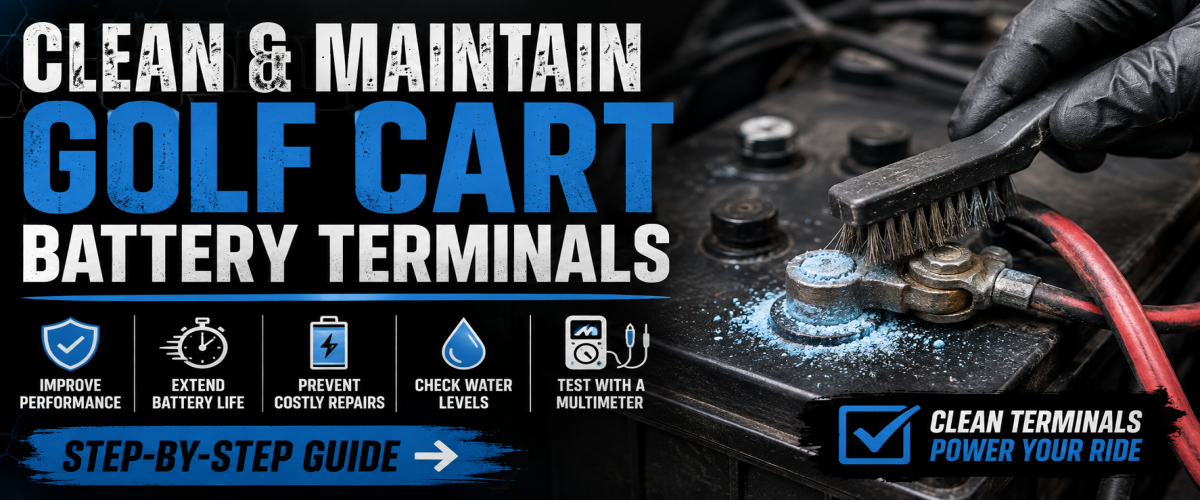
If your golf cart is losing power, charging slowly, or you're seeing blue or white corrosion building up on the batteries, the fix is usually simpler than it looks. Learning how to clean golf cart battery terminals properly (and knowing how to test them afterward) can extend the life of your battery pack, restore lost performance, and save you from a premature/expensive battery replacement.
Why Terminal Corrosion Matters
Corroded terminals create resistance in the circuit, which reduces performance and can damage your batteries over time. Left unaddressed across a full charge/discharge season, it gets worse, not better.
Full Video Guide
What You'll Need
- Rubber or nitrile gloves and eye protection (lead-acid batteries contain sulfuric acid)
- Wire brush or battery terminal brush
- Distilled water
- Alcohol solution in a spray bottle
- 5/16" or 10mm socket
- Shop vac
Other Tools/Parts Used in This Video
- Digital Multimeter
- Replacement Battery Cable Ends (6 Awg- 5/16)
- Heavy Duty Battery Cables
- Battery Cable Crimping Tool (if not buying cables)
- Hardcore Parts Rapid Chargers
Safety Prep
Before touching anything: turn the cart off, remove the key, put it in tow mode, and disconnect the charger.
Step-by-Step: How to Clean Golf Cart Battery Terminals
- Inspect every battery first. Look for cracked cases, bulging sides, leaking electrolyte, or melted cables. Take a photo before you disconnect anything; it's the easiest way to make sure everything goes back exactly where it was.
- Disconnect the cables — negative first, then positive — with a 5/16" or 10mm socket. Keep a plastic cup handy for hardware; it's easy to lose a nut mid-project.
- Vacuum loose corrosion and debris with a shop vac.
Clean the shop vac canister afterward so acidic residue doesn't sit inside and damage it.
- Clean the terminals. Three common methods, with real tradeoffs:
Method Pros Cons Alcohol spray + wire brush (Jay's pick) Dries fast, effective on heavy corrosion Heavy corrosion still needs solid brushing Baking soda + water Neutralizes acid, common household solution — Hosing off the entire pack Fastest for heavy dirt/corrosion Spreads acidic residue, messy Whichever method you choose, heavy corrosion still needs a real brushing to fully clear it. - Check electrolyte levels. Pop the caps and look for exposed lead plates. If you can see them, top off with distilled water to just cover the plates, then replace the caps.
- Reconnect the cables in reverse order (positive, then negative) and fully charge the batteries. Once charged, top off with distilled water again to the proper fill line.
Testing: Confirm the Fix Worked
The real test is an open-circuit voltage ("at-rest") test; with no load attached.
Healthy at-rest voltage:
| Battery Type | Healthy Voltage |
|---|---|
| 6V | ~6.3–6.4V |
| 8V | ~8.45–8.5V |
Set your multimeter to DC voltage, 20V range. Black probe to negative, red probe to positive. The number matters less than the spread; every battery in the pack should read close to the others. A battery reading noticeably lower is a sign it needs further testing or may be near the end of its life.
Keep It Up
Inspect your batteries about once a month: clean terminals, check water levels, and test periodically so a weak battery doesn't strand you on the course.